
How Do Dental Flippers Work to Replace Missing Teeth?

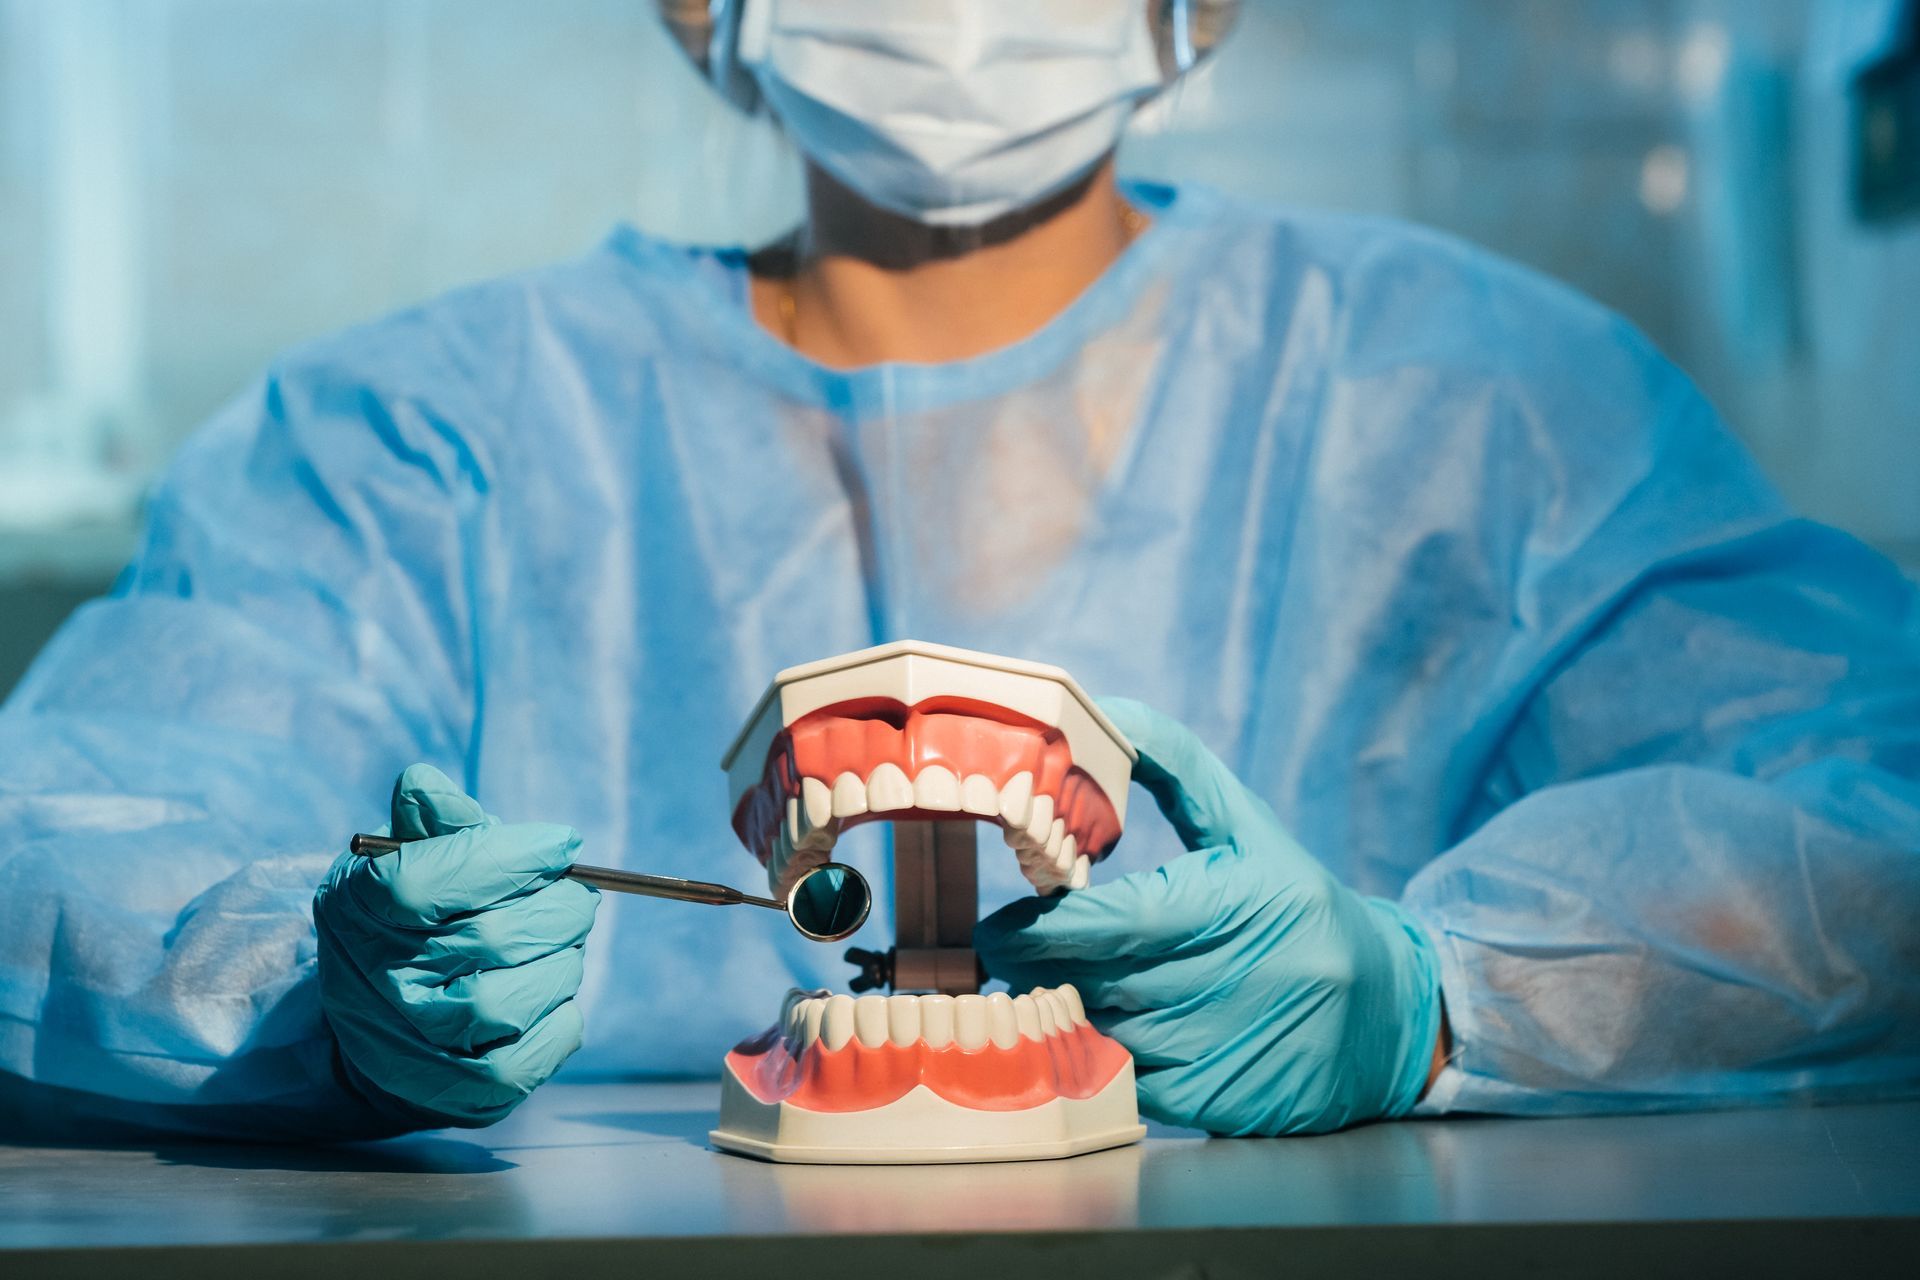
If you’ve recently lost a tooth or are preparing for an extraction, your dentist may recommend a dental flipper as a temporary tooth replacement. These lightweight, removable appliances are a popular option for patients looking for a quick, affordable way to maintain their smile while waiting for a more permanent solution. Meet our implant team, browse before-and-after dental implants, and read patient reviews for transparent credentials and results.
In this guide, we’ll explain how dental flippers work, who they’re right for, how they’re made, and what to expect when wearing one.
Quick Answer: How a Dental Flipper Works
A dental flipper—also called a temporary partial denture—is a removable dental appliance that replaces one or more missing teeth. It’s typically made from an acrylic base that mimics gum tissue, with a false tooth (or teeth) embedded in it. The flipper stays in place either by suction, wire clasps around existing teeth, or a snug fit against the gum.
You might get a dental flipper:
- Right after a tooth extraction (as an
immediate flipper)
- While waiting for a dental implant, bridge, or definitive partial denture
- When budget constraints delay permanent treatment
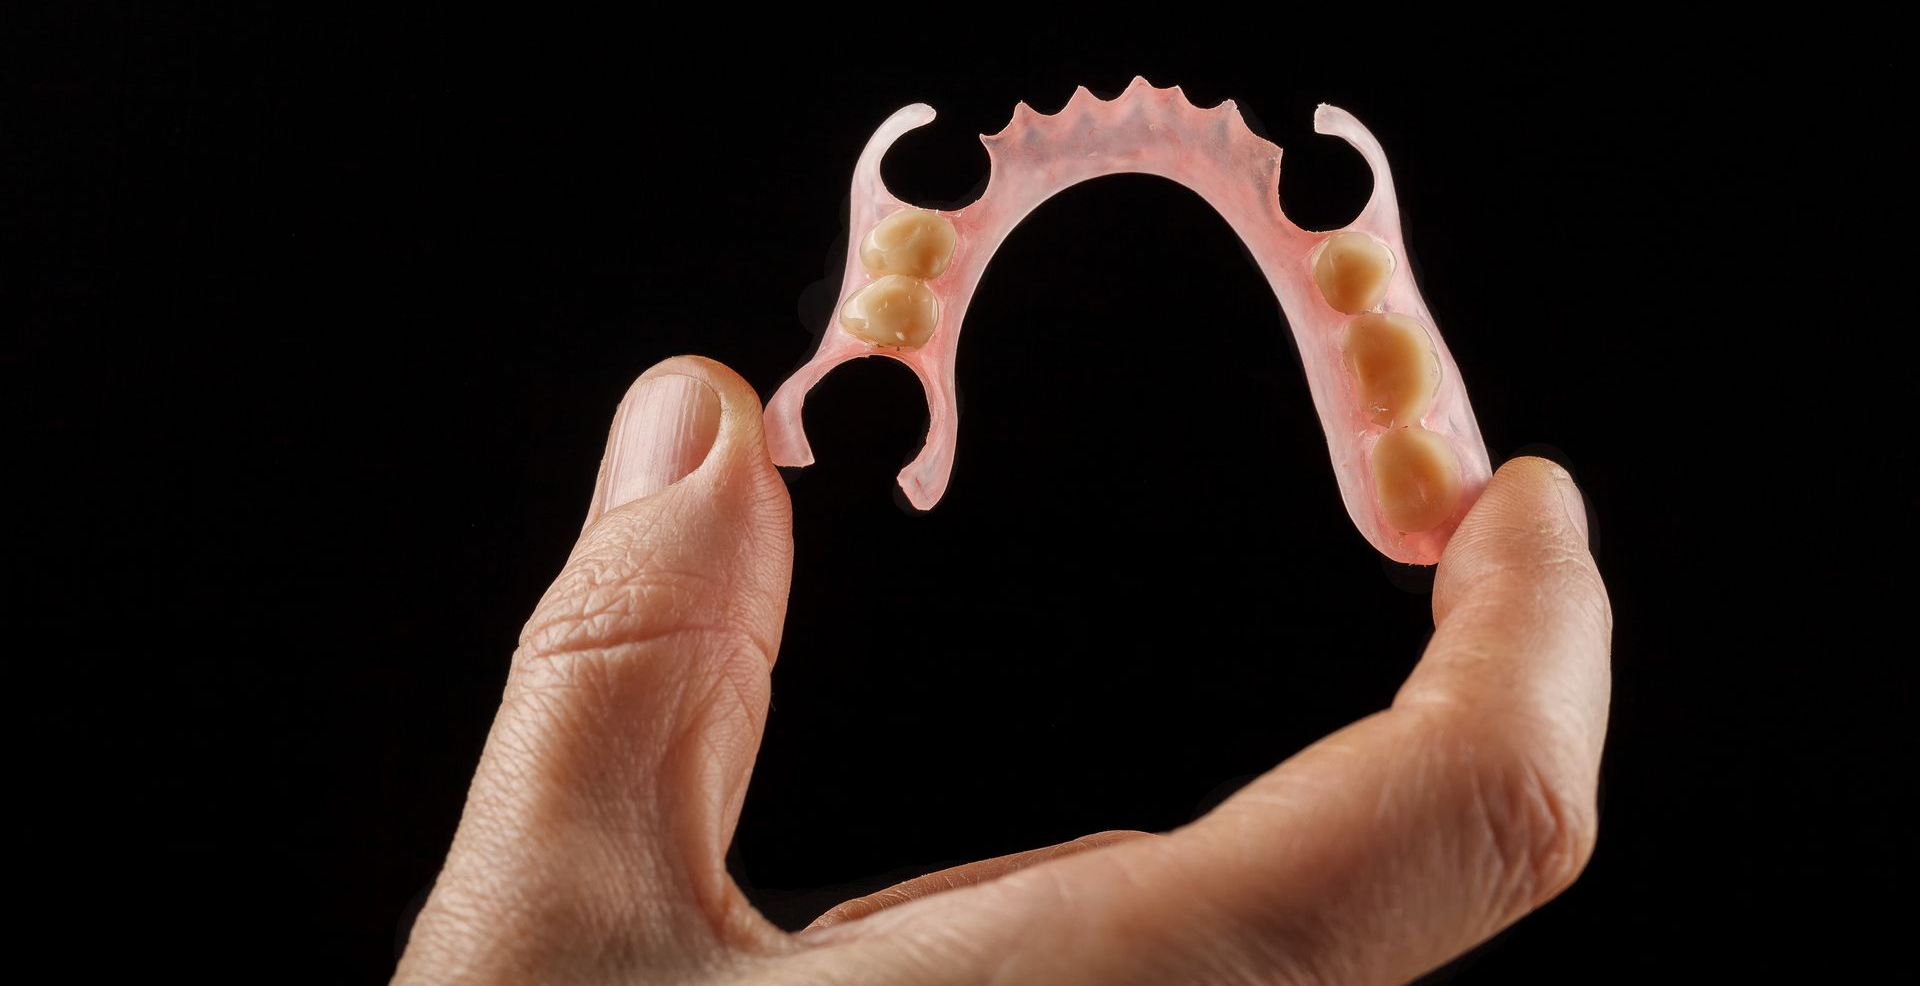
What a Flipper Is Made Of
Most dental flippers consist of:
- A pink acrylic base that mimics your gums
- A
pontic (the artificial tooth)
- Optional
wire or acetal clasps to help anchor the flipper
Some may also have palate coverage for upper teeth or sit just along the ridge for lower teeth.
Material choice matters:
- Acrylic flippers are lightweight and affordable but less durable long-term
- Clasps may be visible depending on where the flipper sits in your mouth
How Flippers Stay In Place
Flippers rely on:
- Suction and tissue adaptation (especially for front teeth)
- Clasps gripping neighboring teeth (wire clasp retention)
- Custom fitting for bite alignment and comfort
Because the mouth changes shape during healing, adjustments are normal. These help with bite alignment, speech, and sore spots.
The Step-by-Step Process
Here’s what the dental flipper process usually looks like:
- Consultation: Evaluation, photos, and possibly X-rays
- Impressions or digital scan: Used to model your flipper
- Shade selection: Matching your natural tooth color
- Lab fabrication: Can be done same-day or over several days
- Tooth extraction (if applicable): Flipper may be placed immediately
- Follow-ups: To adjust for pressure spots, improve fit, and refine speech
Wearing a Flipper: Eating, Speaking, and Comfort
First Week:
- Expect increased saliva, slight speech difficulty, and mild discomfort
- Avoid sticky, hard, or crunchy foods
Eating Tips:
- Start with
soft foods
- Chew on both sides of the mouth
- Cut food into small pieces
Speaking:
- Practice reading aloud to adjust your speech
- Sounds like “s” and “f” may be challenging at first
Comfort:
- Sore spots are common and usually resolve with minor adjustments
Care & Maintenance
To keep your flipper clean and functional:
- Clean daily with a soft brush and mild soap (not toothpaste)
- Use
denture cleaning tablets as recommended
- Never soak in hot water—this warps the acrylic
- Store in water when not in use to prevent drying
- Avoid sleeping in it unless your dentist recommends it
If you notice stains, odors, or plaque buildup, clean more frequently. Ask your dentist about relining if it becomes loose.
How Long a Flipper Lasts
Dental flippers are temporary by design. Most last 6–12 months, depending on:
- Gum and
bone changes after extraction
- How often you wear it
- Whether you eat or sleep with it
Relines or replacements may be needed as your mouth heals.
Pros and Cons
Advantages:
- Affordable and non-invasive
- Fast turnaround (same-day flipper options)
- Helps maintain appearance during healing
- Easier adaptation than full dentures
Limitations:
- Less stable than implants or bridges
- May impact taste or speech
- Not durable for long-term wear
- Can break if dropped or mishandled
Cost, Insurance, and Financing
Dental flipper cost varies based on:
- Number of teeth replaced
- Whether it’s made same-day or in a lab
- Materials and complexity
Expect to pay between $300–$800, depending on your location and dental provider. Many insurance plans cover all or part of the cost, especially if it’s a temporary measure after extraction.
Alternatives to a Flipper
If a flipper isn’t right for you, consider:
- Essix retainer with a tooth: Clear, cosmetic, but less durable
- Maryland bridge: Bonded to neighboring teeth with minimal prep
- Conventional partial denture: More secure but bulkier
- Dental implant: Permanent solution, but requires healing time
- Implant-supported bridges or dentures: For multiple missing teeth
Who Is a Good Candidate?
You might be a great candidate for a dental flipper if:
- You’ve recently lost a
front tooth and need a quick fix
- You’re waiting for implant healing or insurance approval
- You need a
budget-friendly cosmetic solution
Factors like gum health, bite alignment, and bone stability influence candidacy. Your dentist can evaluate the best fit for your needs.
Conclusion: Dental Flippers Are a Smart Short-Term Solution
A dental flipper is a simple, effective way to replace a missing tooth during the healing period after an extraction or while waiting for permanent treatment. They’re affordable, quick to make, and customizable to your smile.
While not intended as a permanent fix, flippers provide comfort and confidence when you need it most. Speak with your dentist to determine if a flipper is right for you and explore your options for transitioning to a more permanent restoration. Do you have an emergency? Contact our Tampa Dental Implants team right now and we will give you an estimate.
Frequently Asked Questions
Share This Blog