
All-on-4 Recovery Timeline: What to Expect After Surgery

Most All-on-4 patients feel back to normal within one to two weeks, though full healing and the move to permanent teeth take three to six months. You walk out of surgery with a temporary set of teeth the same day, manage mild swelling and soreness for the first few days, return to soft-food normalcy within a couple of weeks, and complete the process once your implants fully fuse with the bone. Knowing the timeline ahead of time makes the whole experience far less stressful.
Our team has guided patients across Tampa, Westchase, Carrollwood, Lutz, and the surrounding areas through All-on-4 recovery, and the patients who heal most smoothly are the ones who know what is coming at each stage. This guide walks through the recovery week by week, what to eat, what is normal versus what needs a call, and how to speed up healing.
In This Guide
- The Quick Answer on Recovery Time
- What Happens on Surgery Day
- The First 24 to 72 Hours
- Week One: The Hardest Stretch
- Weeks Two to Four: Getting Back to Normal
- Months One to Six: Osseointegration
- The Full Recovery Timeline at a Glance
- What to Eat at Each Stage
- How to Recover Faster
- Warning Signs That Need a Call
- Ready to Talk About All-on-4?
- FAQ
The Quick Answer on Recovery Time
Recovery happens in stages, and the word "recovery" means different things depending on which stage you are asking about.
Initial Recovery (Days to Weeks)
The uncomfortable part is short. Most patients take it easy for the first three to four days, manage swelling and soreness for about a week, and feel close to normal within one to two weeks. Many return to desk work within two to five days.
Full Healing (Months)
The implants need three to six months to fully fuse with the jawbone, a process called osseointegration. During this time you wear your temporary teeth and follow a modified diet. Once healing is complete, your permanent prosthetic is placed and you are done.
The key thing to understand: you leave surgery day with teeth. The months-long part is internal healing, not a months-long period without teeth. Our
All-on-4 page covers how the procedure works from start to finish.
What Happens on Surgery Day
All-on-4 surgery is usually completed in a single day per arch, often under IV sedation so you are comfortable throughout.
The Procedure Itself
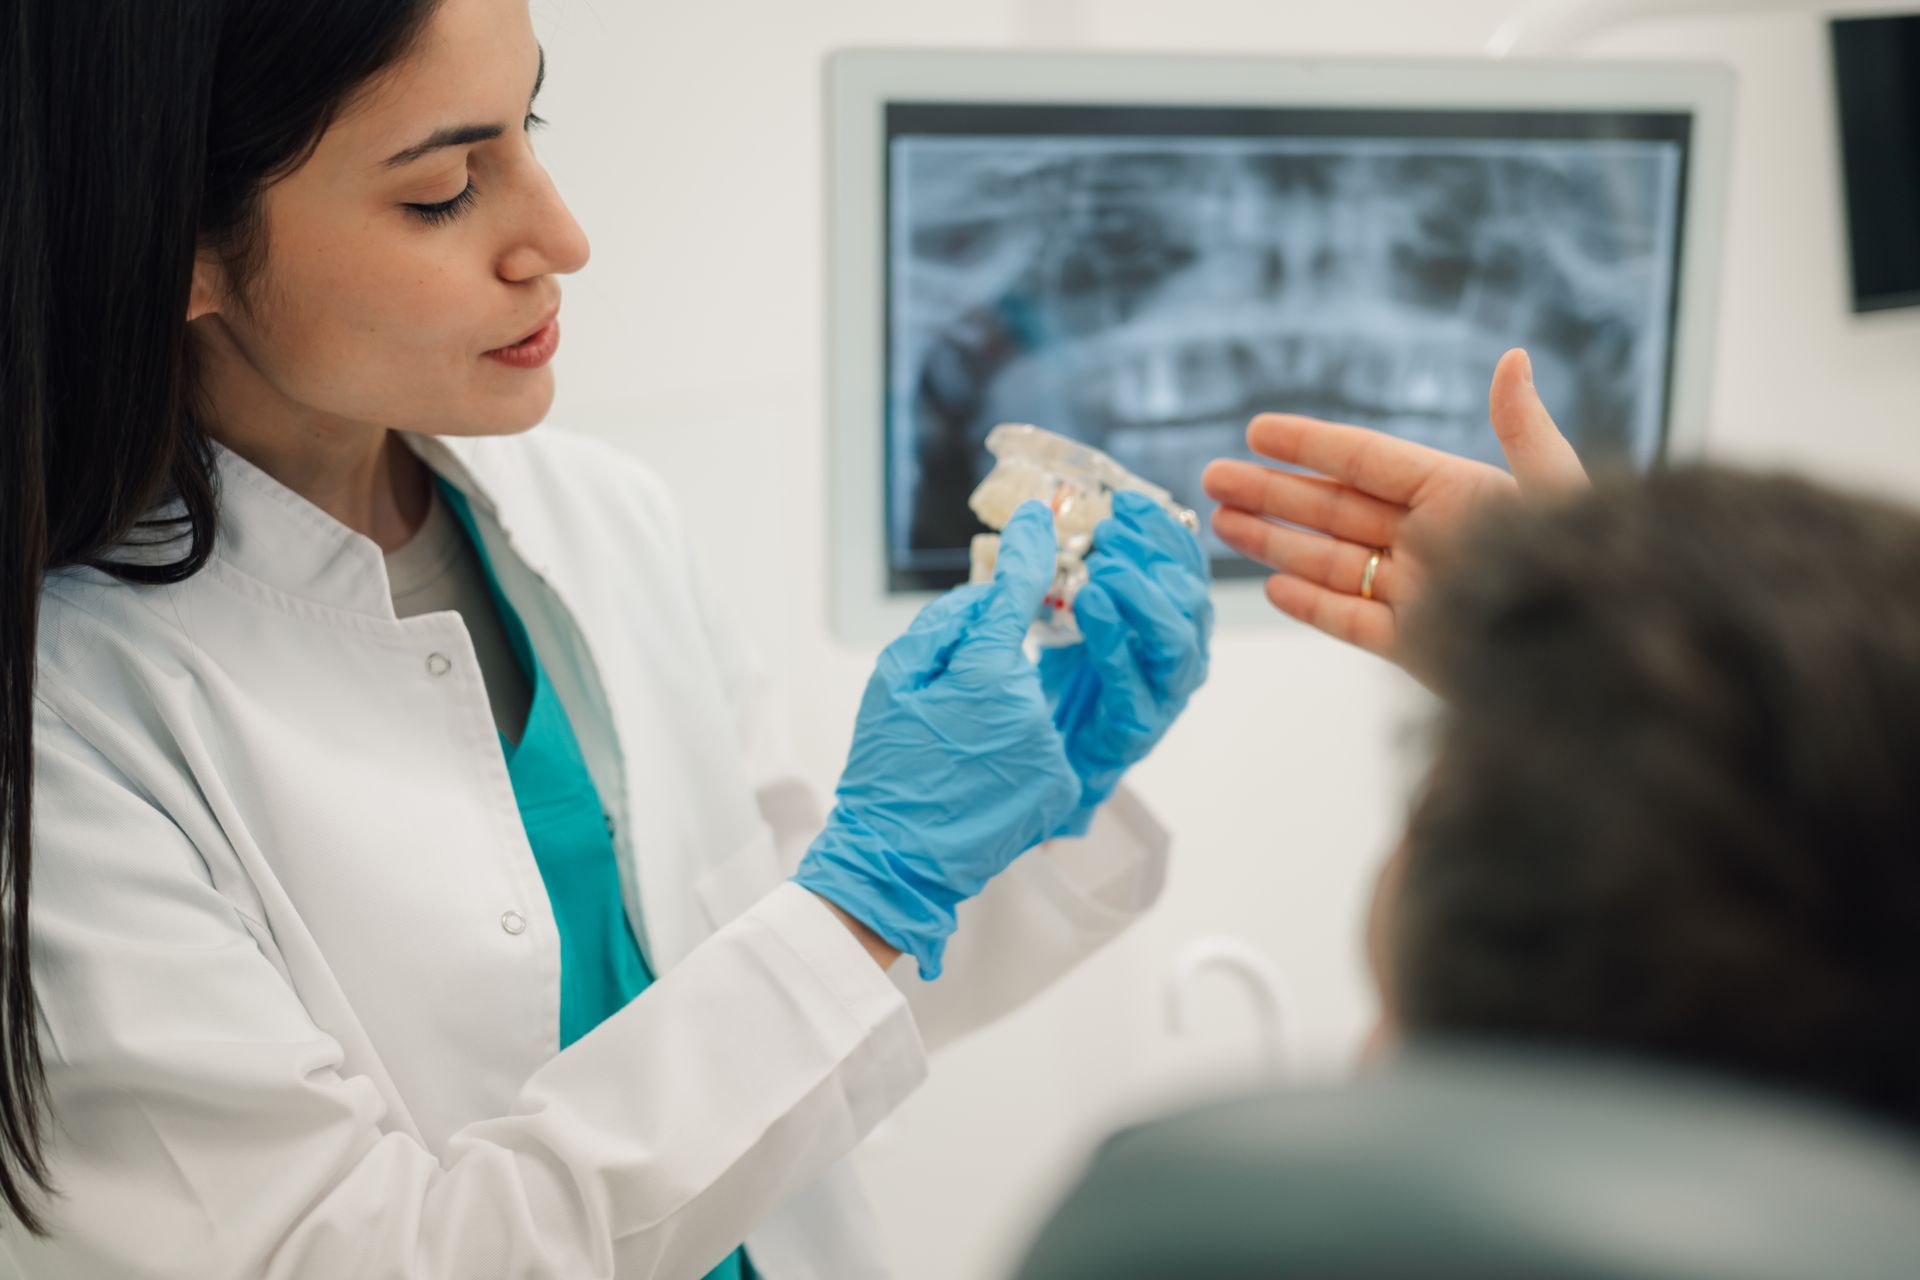
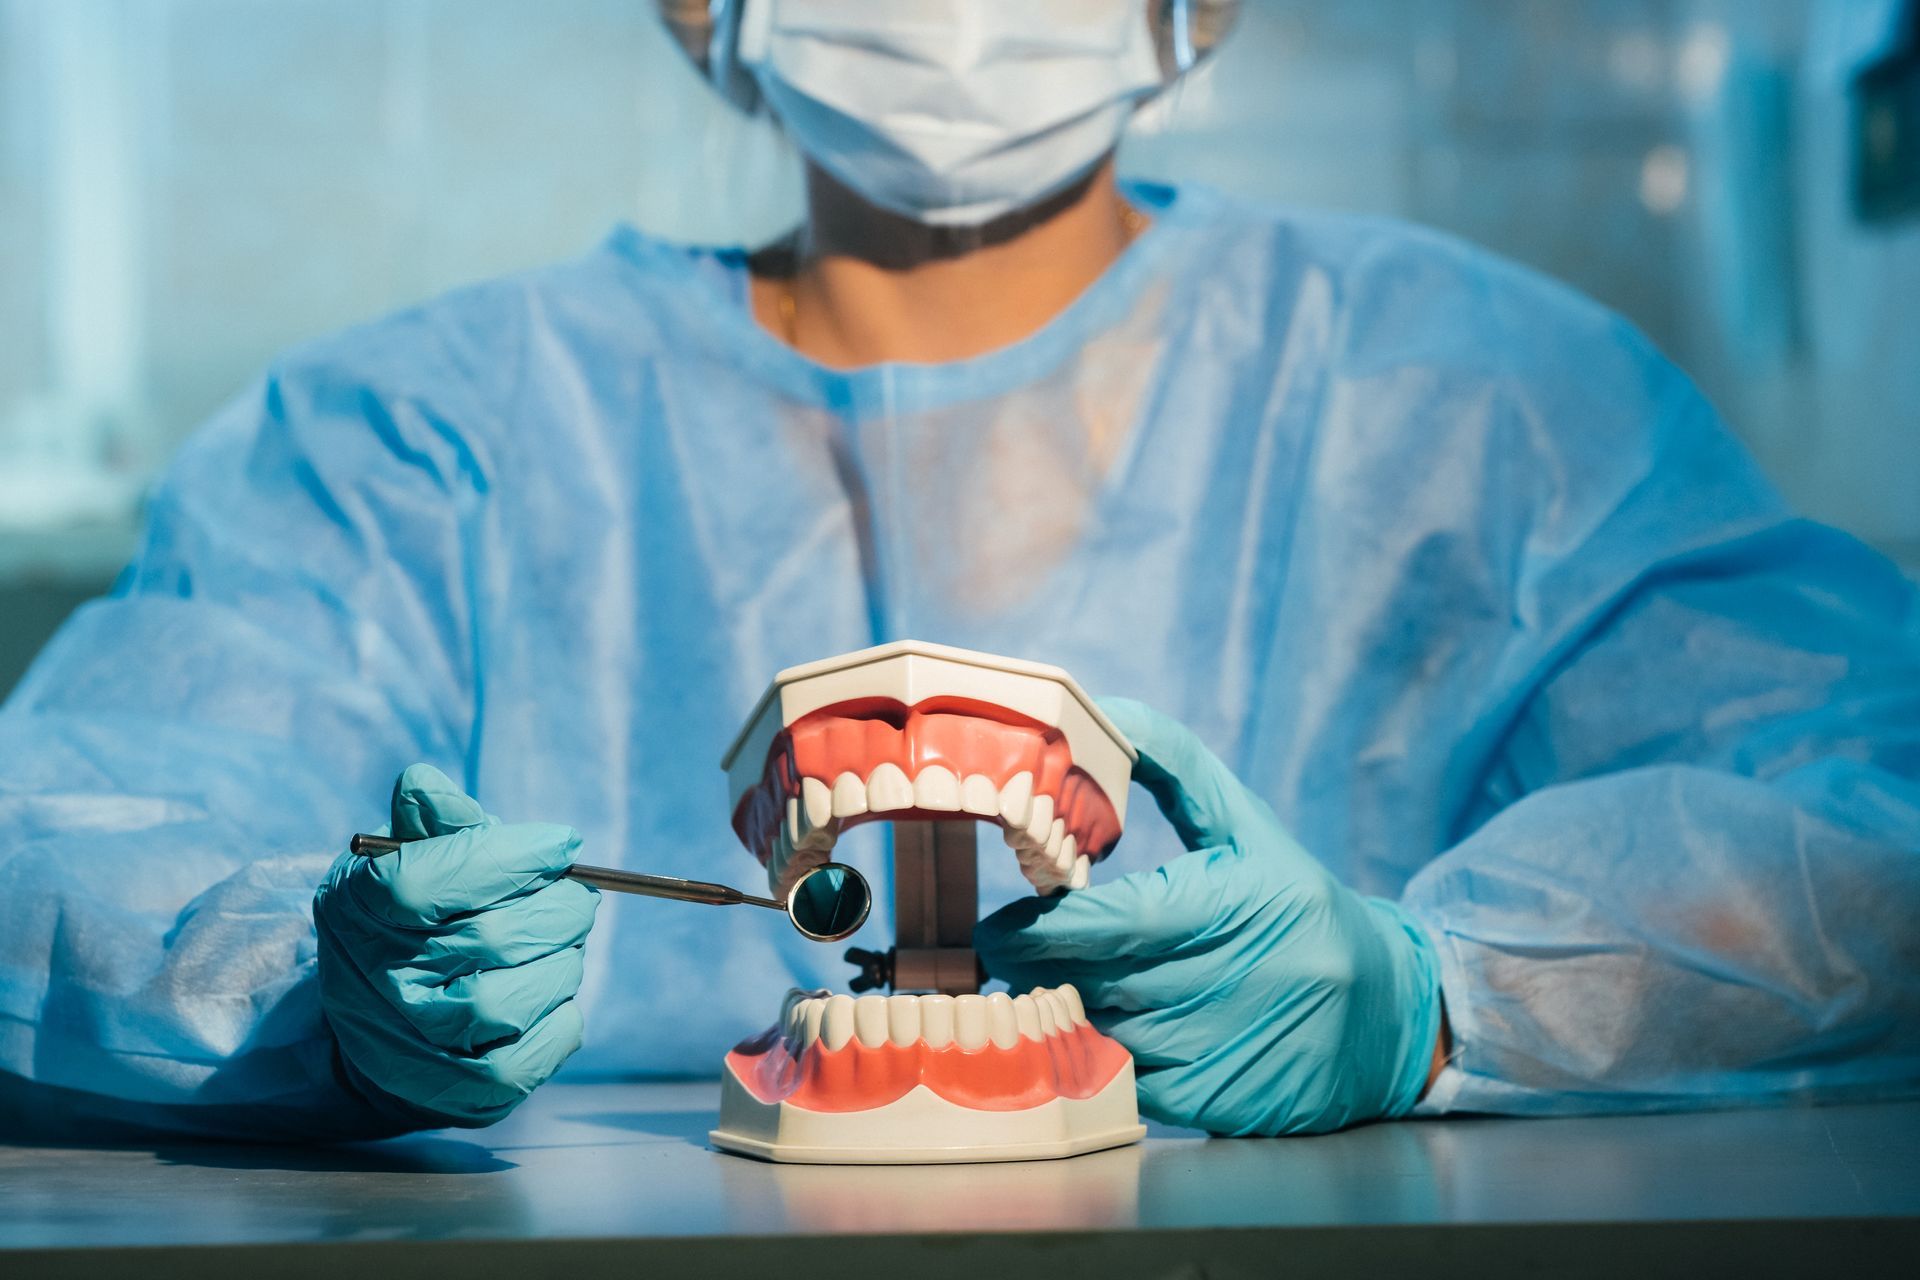
The surgeon removes any remaining failing teeth, places four implants at strategic angles into the jawbone, and attaches a temporary fixed set of teeth the same day. The angled placement of the rear implants is what allows All-on-4 to work without bone grafting in many cases, anchoring into denser available bone. This "teeth in a day" approach means you never walk around without teeth. The temporary set is designed for healing, not heavy chewing, which is why the diet matters in the early weeks.
Getting Home Safely
Because of the sedation, you will need someone to drive you home and stay with you for the first several hours. Most of surgery day is spent resting once you are home. The local anesthetic keeps the area numb for a few hours, and you start managing comfort before it fully wears off. Setting up a comfortable spot with pillows, cold compresses, soft foods, and your medications ready before you leave for surgery makes the first evening much easier.
The First 24 to 72 Hours
The first three days are the peak of swelling and discomfort, and they are very manageable with the right preparation.
Swelling and Bruising
Swelling typically peaks around 48 to 72 hours after surgery, then starts to subside. Some bruising on the cheeks or chin is normal. Using a cold compress on the outside of the face in 20-minute intervals during the first 48 hours significantly reduces swelling.
Managing Discomfort
Most patients manage discomfort with prescribed or over-the-counter pain medication. The discomfort is usually described as far less than expected, more pressure and soreness than sharp pain. Staying ahead of it by taking medication on schedule, rather than waiting for pain to build, makes the first days smoother.
What to Do and Avoid
- Rest with your head elevated for the first few nights to reduce swelling.
- Use cold compresses in 20-minute cycles for the first 48 hours.
- Stick to cool, soft foods and liquids, avoiding anything hot.
- Do not rinse vigorously, spit forcefully, or use straws, which can disturb the surgical site.
- Do not smoke, which dramatically slows healing and raises the risk of implant failure.
Week One: The Hardest Stretch
The first week is the most restrictive, but it passes quickly. By the end of it, most patients feel like the worst is behind them.
Days 4 to 7: Turning the Corner
Swelling decreases noticeably after day three or four. Soreness fades gradually. Many patients return to desk work or light activity within two to five days, depending on how they feel and the nature of their job. Physically demanding work should wait until the second week, because increased blood pressure and exertion can disturb the healing sites.
Adjusting to the Temporary Teeth
Speaking and eating feel different at first because the temporary teeth and the healing tissue are new. This adjusts within days. Some patients notice a slight lisp or extra saliva in the first day or two, which resolves as your mouth adapts. Practicing speaking out loud at home speeds the adjustment.
Keeping the Area Clean
Gentle saltwater rinses (not commercial mouthwash, which can be too harsh) keep the area clean starting the day after surgery. Brushing continues, but gently around the surgical sites. Good hygiene in this window prevents infection without disturbing the healing tissue.
The One Rule That Matters Most
The single most important thing during week one is protecting the implants from force. The four implants are fusing with the bone, and excessive chewing pressure can disturb that process. This is why the soft-food diet is non-negotiable during this stage, even if you feel good enough to eat more.
Weeks Two to Four: Getting Back to Normal
By the second week, most patients feel substantially recovered. Swelling is gone, discomfort is minimal, and daily life is largely back to normal.
Returning to Activity
You can return to most normal activities, including exercise, by the second or third week, easing back in rather than jumping to maximum intensity. Speaking feels natural again. The temporary teeth feel more familiar, and most patients stop thinking about them constantly.
The Diet Is Still Modified
The diet is still modified during this window. You are moving from fully soft foods toward a wider range, but still avoiding hard, crunchy, sticky, and chewy foods that put stress on the healing implants. Think of this as a gradual expansion rather than a sudden return to anything you want. Cutting food into small pieces and chewing carefully protects the implants while you broaden your options.
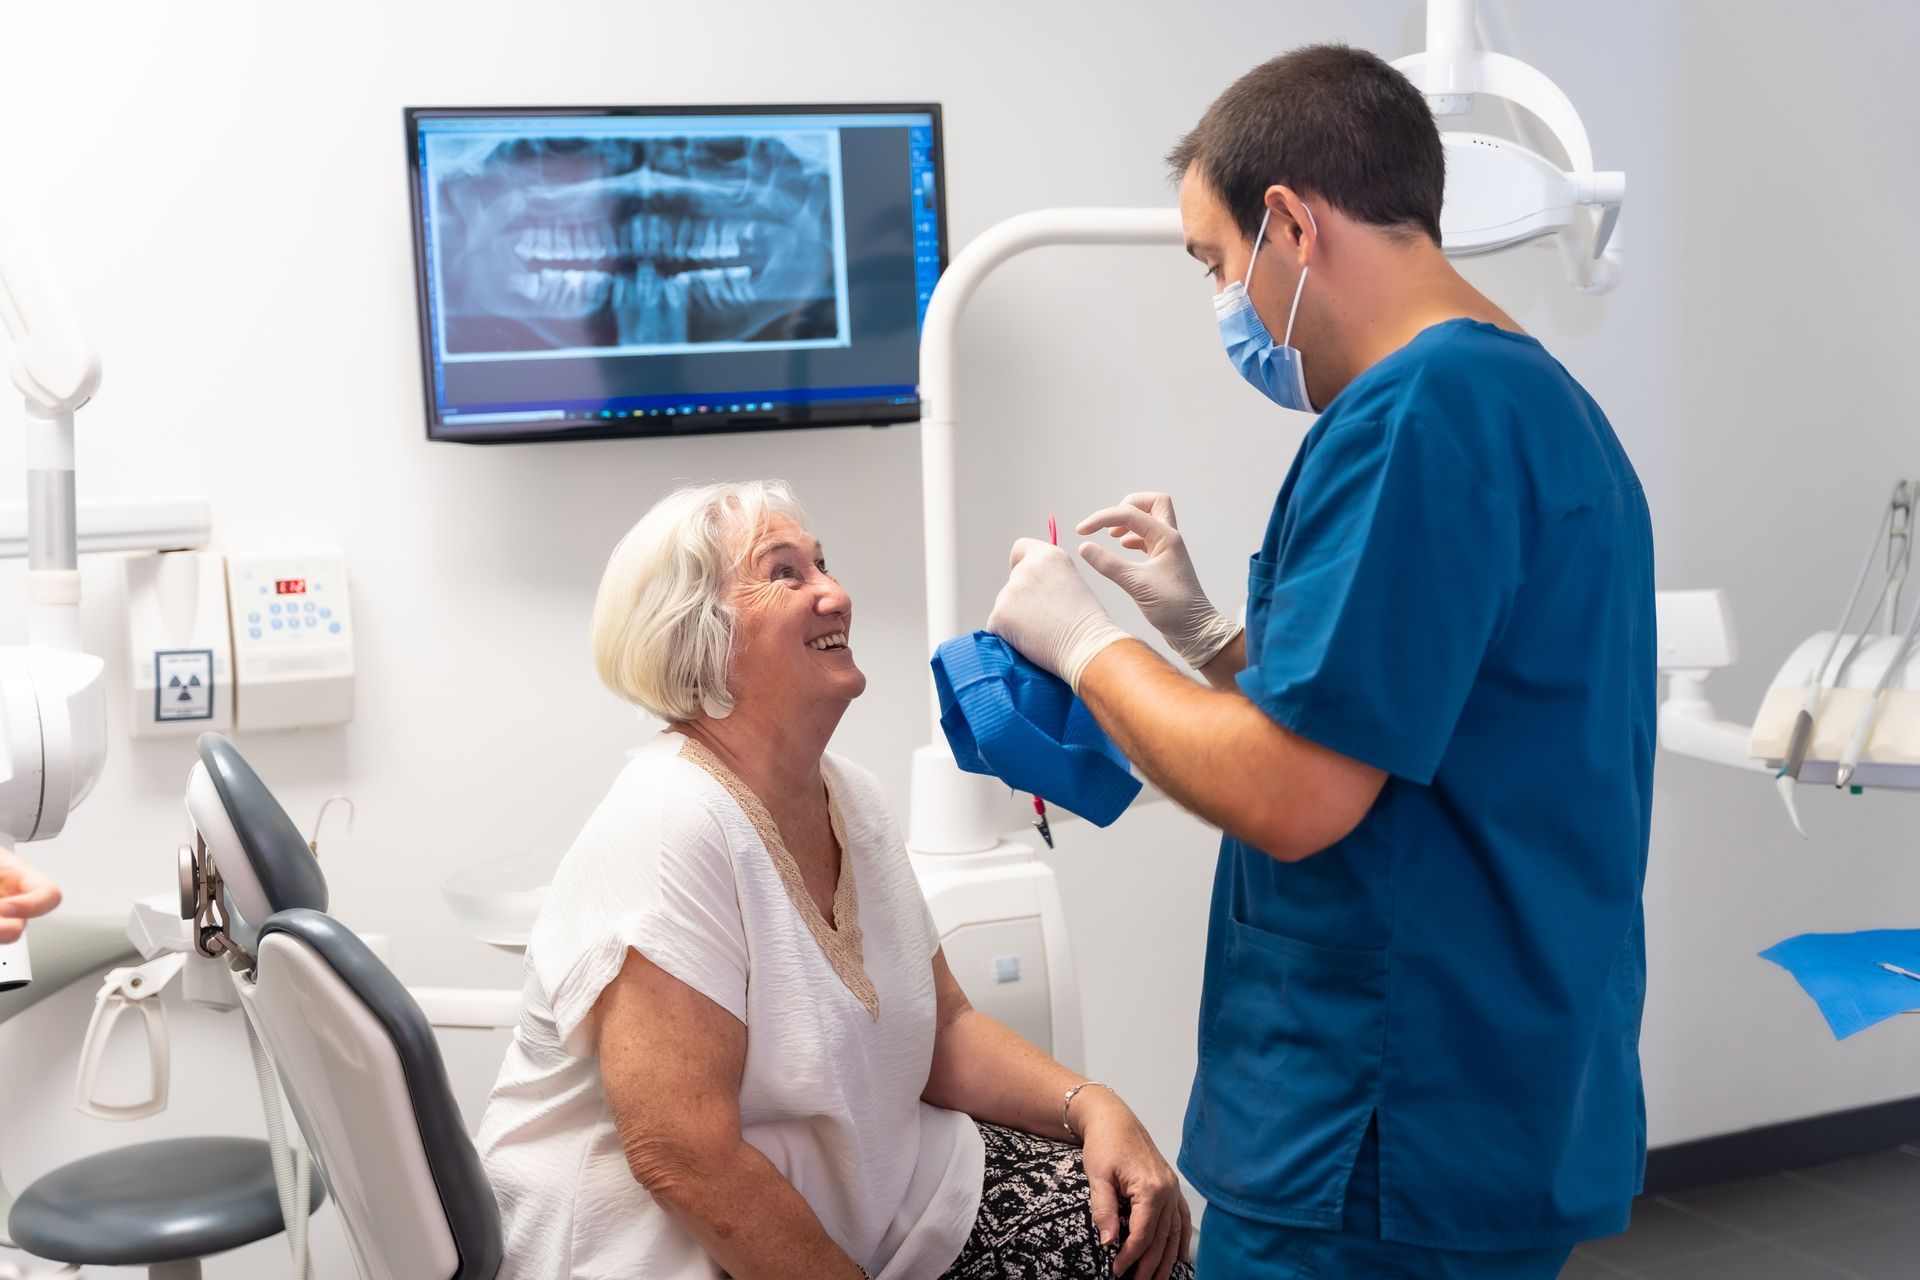
Your Follow-Up Visit
This is also when most patients have a follow-up visit so the surgical team can confirm everything is healing as expected. These check-ins matter, because catching any issue early keeps recovery on track. The team checks the implants, the fit of the temporary teeth, and the health of the surrounding tissue.
Months One to Six: Osseointegration
This is the long, quiet part of recovery, and the good news is that it requires very little from you once the early healing is done.
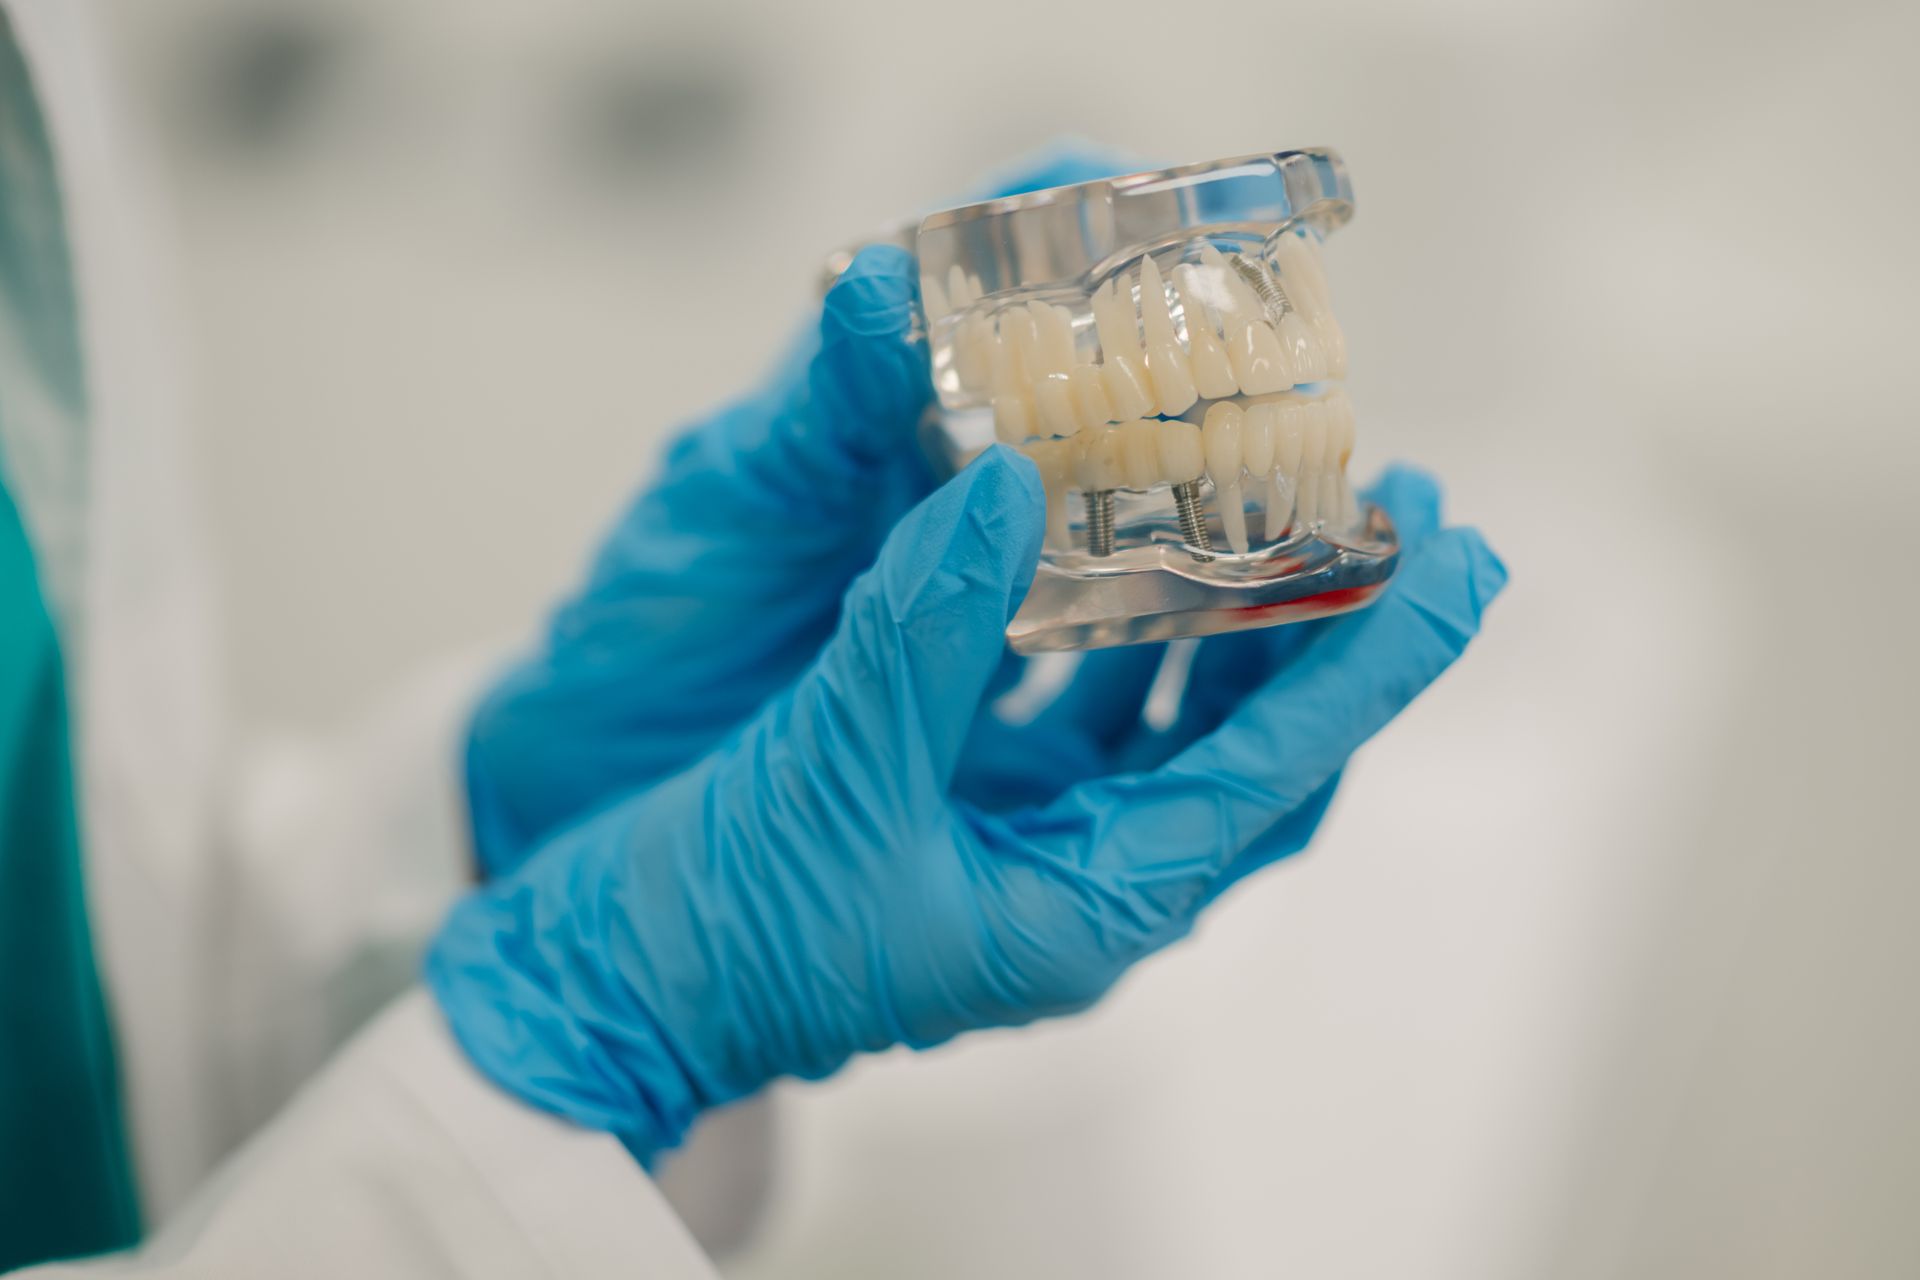
What Osseointegration Is
Osseointegration is the process where the titanium implants physically fuse with your jawbone, becoming a permanent anchor. It happens beneath the surface over three to six months. You will not feel it happening, and there is nothing you need to do to make it occur beyond protecting the area and staying healthy. During this period you wear and function with your temporary teeth. The timeline varies based on your bone quality, your overall health, and habits like smoking, which is why the range spans a few months rather than a fixed date.
What You Do During This Phase
Mostly, you live normally with a few ongoing precautions: continue good oral hygiene, keep follow-up appointments, avoid the hardest foods on the temporary prosthetic, and do not smoke. The implants are doing their work quietly underneath.
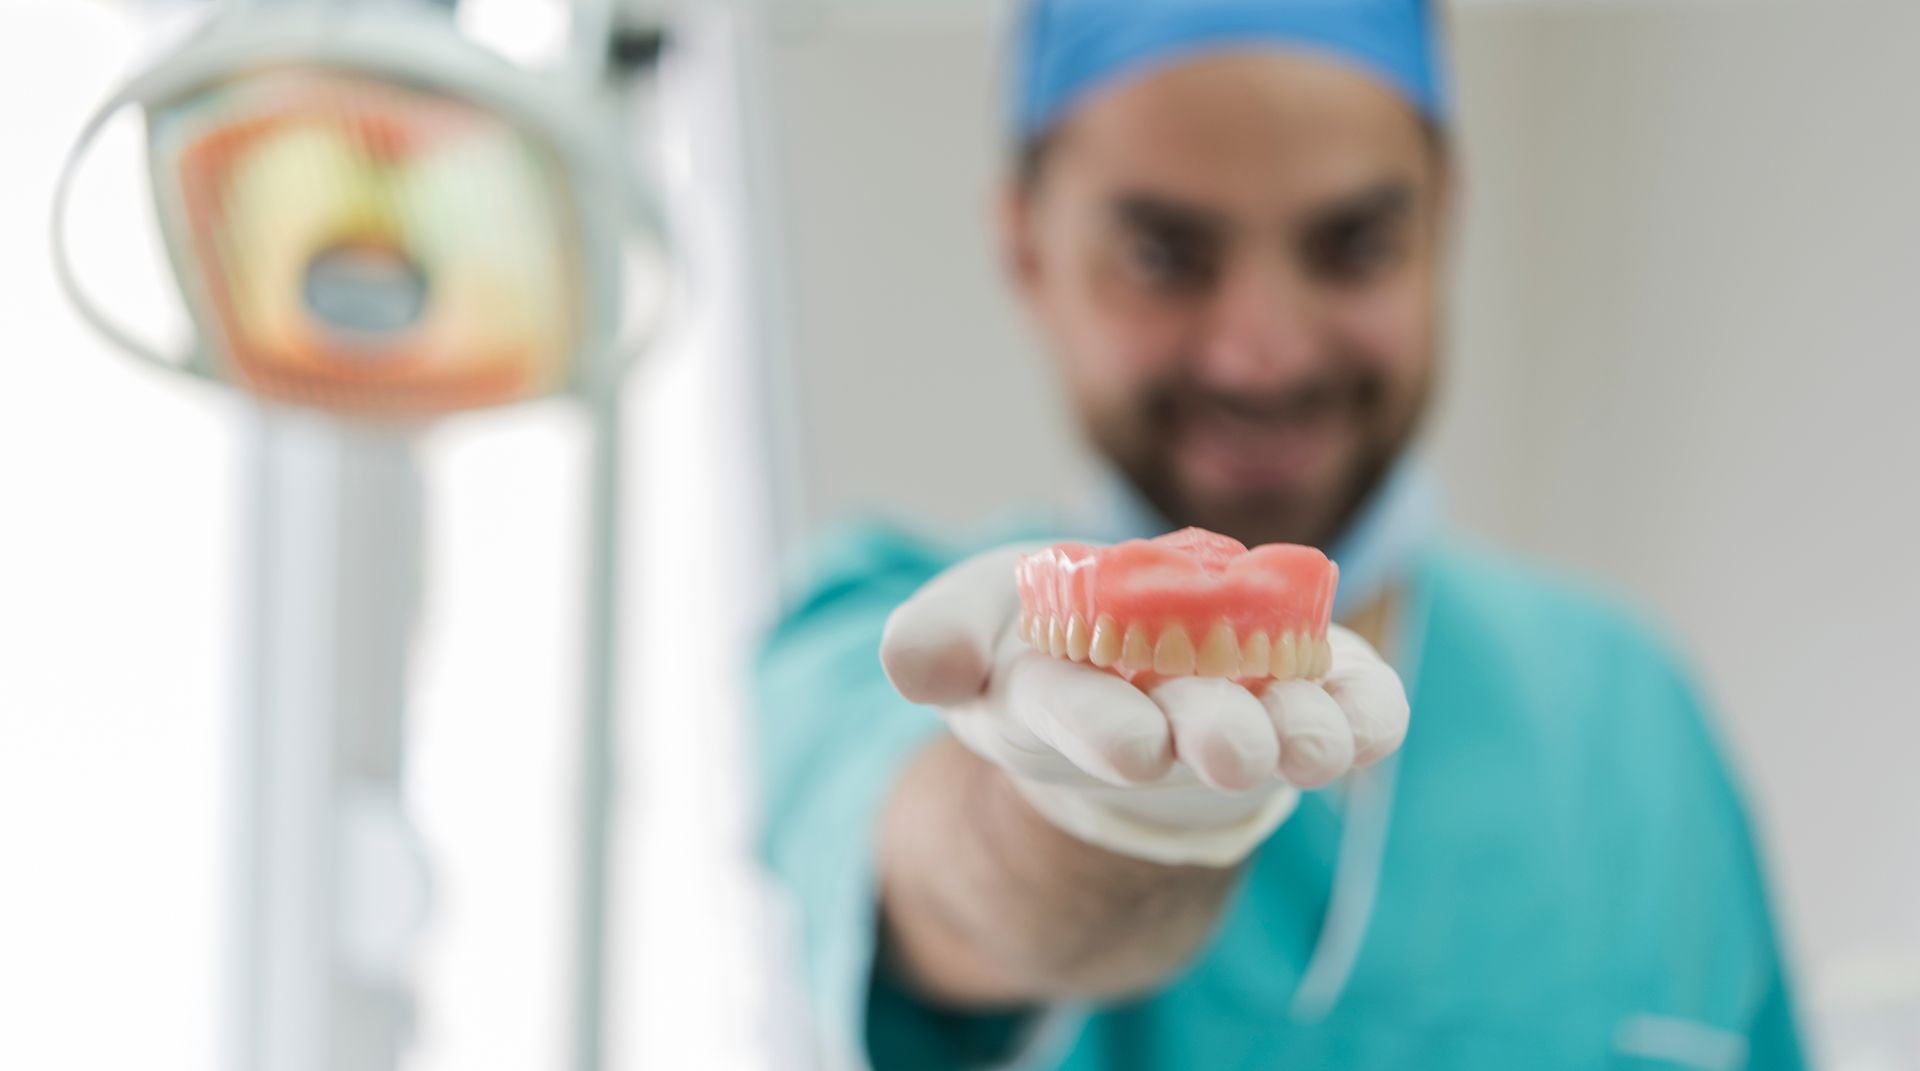
Getting Your Permanent Teeth
Once your surgeon confirms full osseointegration, the permanent prosthetic is fabricated and placed. This final set is stronger, more refined, and built to last. With the permanent teeth in place, your dietary restrictions lift and you can eat normally again. Our full teeth replacement page covers what the finished result looks like.
For broader context on healing across all implant types, our
complete guide to recovery time for dental implant surgery goes deeper into the biology of healing.
The Full Recovery Timeline at a Glance
Here is the whole journey on one screen.
| Stage | Timeframe | What to Expect |
|---|---|---|
| Surgery day | Day 0 | Implants placed, temporary teeth attached, rest at home |
| Acute recovery | Days 1 to 3 | Peak swelling, soreness, cold compresses, soft/cool foods |
| Early healing | Days 4 to 7 | Swelling subsides, return to desk work, gentle rinses |
| Soft tissue healing | Weeks 2 to 4 | Back to most activities, diet expanding, follow-up visit |
| Osseointegration | Months 1 to 6 | Implants fuse with bone, wear temporaries, live normally |
| Permanent teeth | After full healing | Final prosthetic placed, normal diet resumes |
What to Eat at Each Stage
Diet is the area patients ask about most, because it directly affects healing and comfort.
Days 1 to 3: Liquids and Very Soft Foods
Stick to cool or room-temperature liquids and very soft foods that need no chewing. Good options include:
- Smoothies (spoon them, no straws)
- Lukewarm broth and blended soups
- Yogurt and pudding
- Applesauce
- Mashed potatoes (not hot)
Days 4 to 14: Soft Foods
As swelling subsides, expand to soft foods that need minimal chewing: scrambled eggs, oatmeal, well-cooked pasta, soft fish, cottage cheese, and ripe bananas.
Weeks 2 to 4: Expanding the Diet
Add more texture gradually while still avoiding hard, crunchy, chewy, and sticky foods. Cut food into small pieces and chew gently.
After Permanent Teeth: Normal Eating
Once your permanent prosthetic is placed and healing is confirmed, you can return to a full diet, including foods that were off-limits with traditional dentures. For tips on adjusting, our
guide on the best way to eat with dental implants is a useful reference.
How to Recover Faster
Healing is partly biology and partly what you do. These habits make a measurable difference.
- Do not smoke. Smoking is the single biggest threat to implant healing. It restricts blood flow and dramatically raises the risk of failure. Even light smoking matters, as our guide on light smoking after dental implants explains.
- Follow the soft-food timeline. Protecting the implants from chewing force during osseointegration is the most important thing you control.
- Keep the area clean. Gentle saltwater rinses and careful brushing prevent infection without disturbing healing.
- Stay hydrated and eat enough. Your body needs nutrition and fluids to heal, even when chewing is limited.
- Take medications as directed. Finish any prescribed antibiotics fully and stay ahead of discomfort with scheduled pain relief.
- Rest in the early days. Sleep and reduced activity in the first week speed healing more than pushing through.
- Keep every follow-up appointment. Early detection of any issue keeps recovery on schedule.
Warning Signs That Need a Call
Most All-on-4 recoveries are smooth, but a few signs warrant a prompt call to your surgical team.
- Severe pain that worsens after the first few days instead of improving
- Swelling that increases after day three or four rather than going down
- Fever or signs of infection such as pus or a foul taste
- Heavy or persistent bleeding that does not respond to gentle pressure
- A temporary prosthetic that feels loose or shifts noticeably
- Numbness that does not resolve after the anesthetic should have worn off
None of these are common, but calling early is always the right move. Catching a problem in its first days is far easier to address than waiting. If you ever face an urgent situation, our
dental emergencies page explains how to reach us quickly.
Ready to Talk About All-on-4?
Understanding the recovery timeline is one of the best ways to feel confident about All-on-4. The procedure has a well-earned reputation for being more comfortable than patients expect, and the recovery is shorter than most people assume given how much the result changes their life.
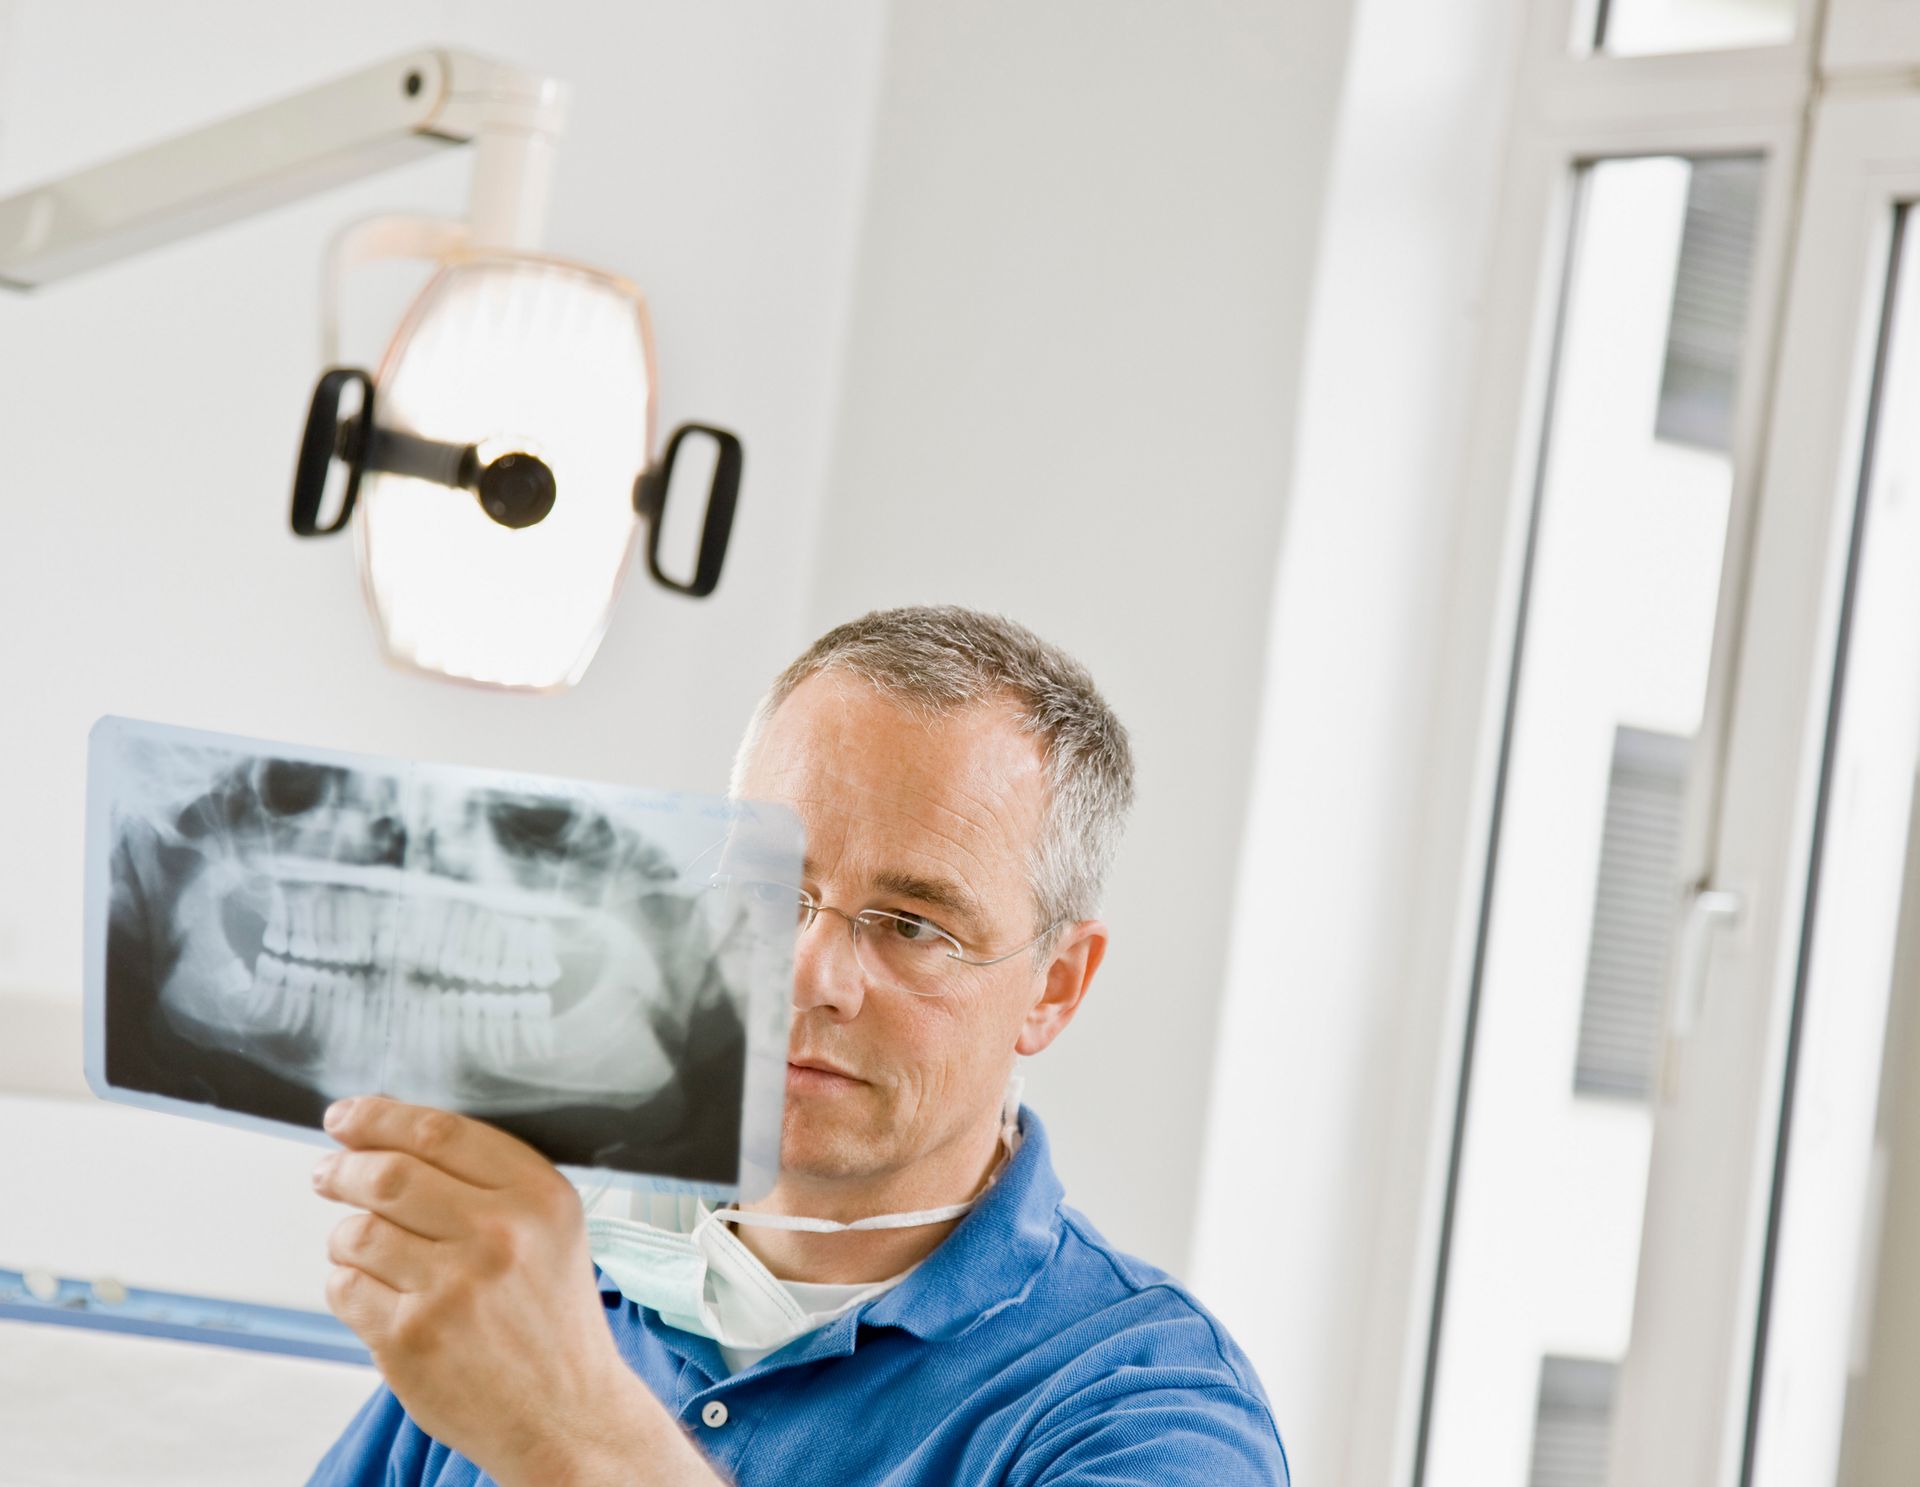
If you are considering All-on-4 and want to know whether you are a candidate and what your specific recovery would look like, the first step is a consultation with 3D imaging. We evaluate your bone, walk through the timeline for your case, and answer every question before anything is scheduled. Our
All-on-4 candidate and expectations guide is a good next read, or
contact our Tampa team to set up a visit.
Frequently Asked Questions
Share This Blog